The Troubleshooter’s Framework
A safe, repeatable WordPress workflow—gather facts, log errors privately, isolate variables, and recover access without guesswork.

A repeatable method beats guesswork when a WordPress site breaks.
What you’ll learn
By the end of this lesson you will:
- ✓Think like a troubleshooter: isolate the cause, change one thing at a time, and document.
- ✓Use core WordPress tools to gather facts before touching anything.
- ✓Capture errors safely to a log (instead of showing them to visitors).
- ✓Recover access if a fatal error locks you out of wp-admin.

Start with Site Health to gather facts before changing anything.
Why the “method” matters
Most WordPress outages come from a small change that introduces a big side effect—an update, a new plugin, a theme tweak, a PHP setting, or a server rule. Guessing makes outages longer. A repeatable method makes them shorter and safer.
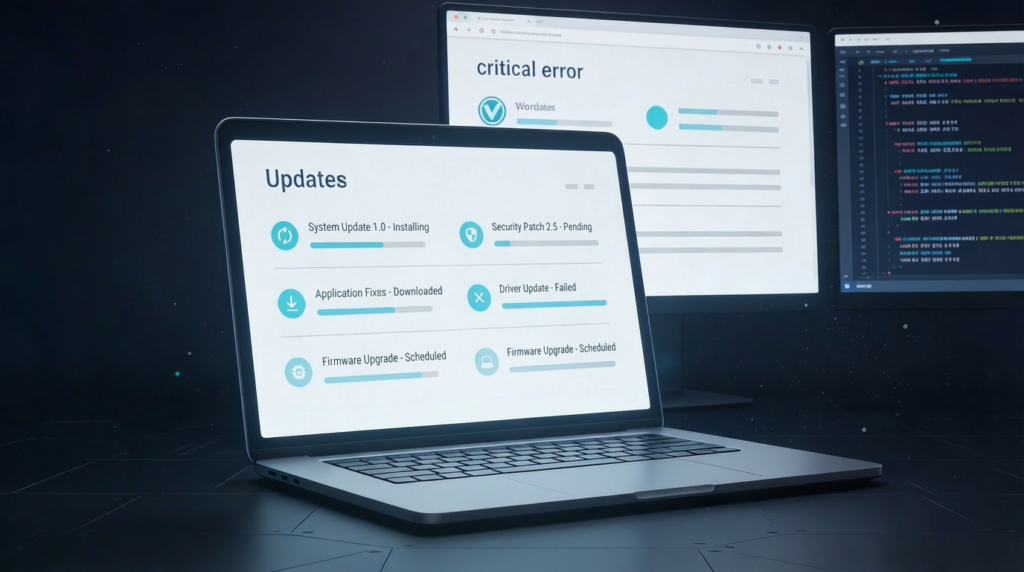
Small changes can trigger major outages—method keeps diagnosis fast, safe, and evidence-based.
Your baseline toolkit (built into WordPress)
Start with Site Health to gather facts before changing anything.

Log errors privately—don’t show them to visitors.
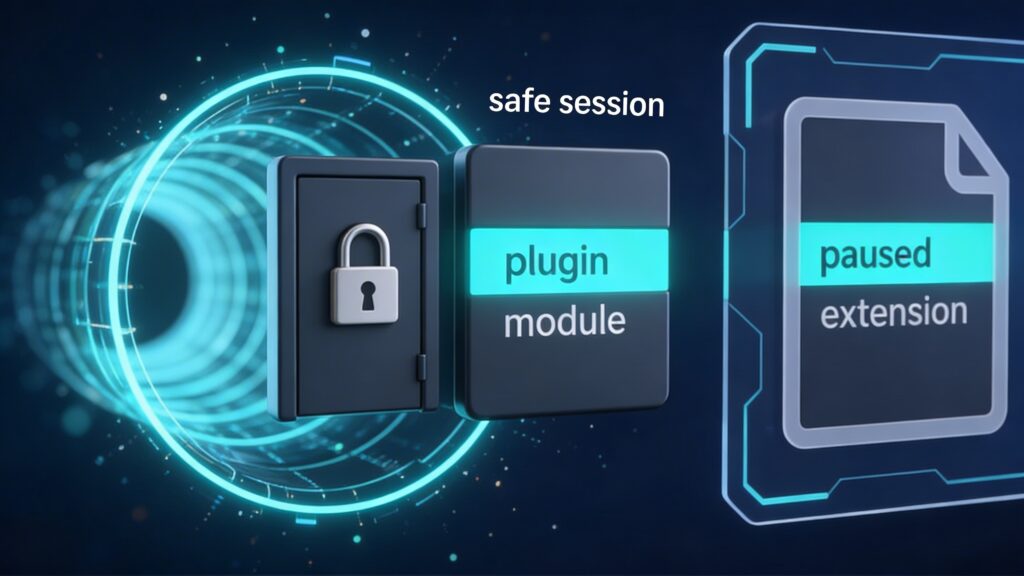
Recovery Mode lets you regain access while pausing the failing extension.
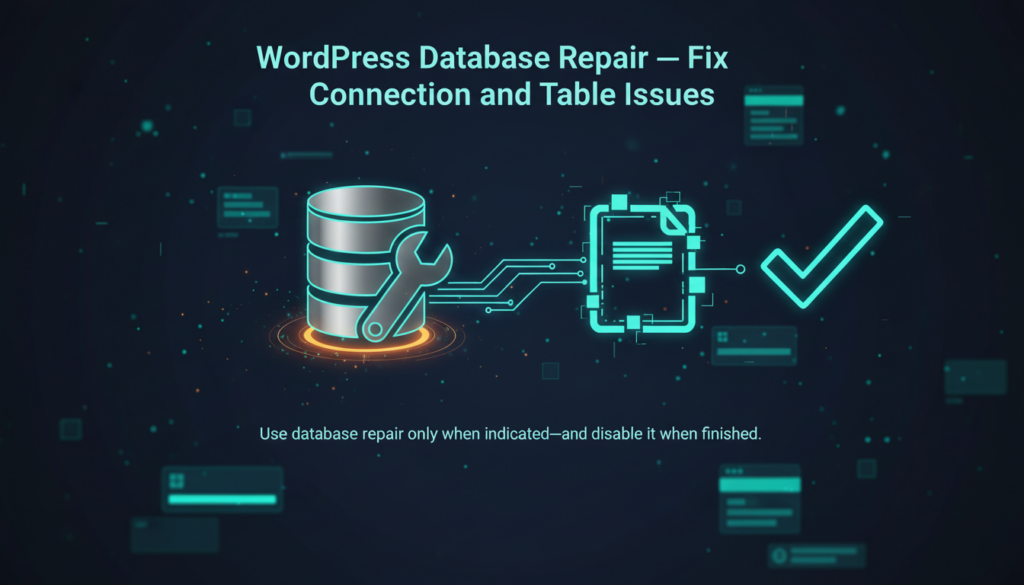
Use database repair only when indicated—and disable it when finished.

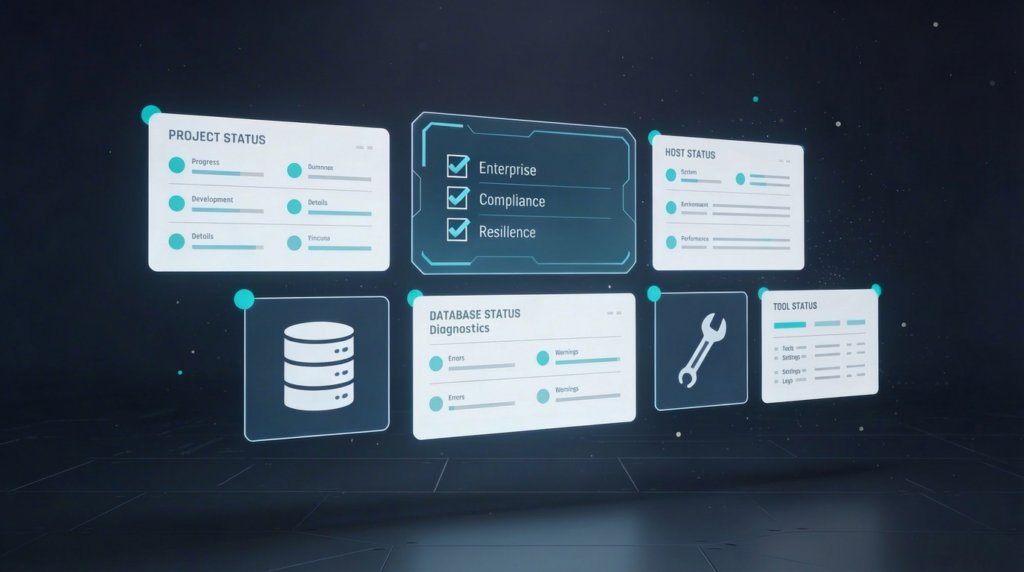
Site Health highlights configuration and performance signals—including object cache suggestions.
3. Site Health & object caching hint
For performance-related troubleshooting, Site Health may suggest enabling a persistent object cache (e.g., Redis/Memcached) when your site would benefit from it. Developer Resources ↗
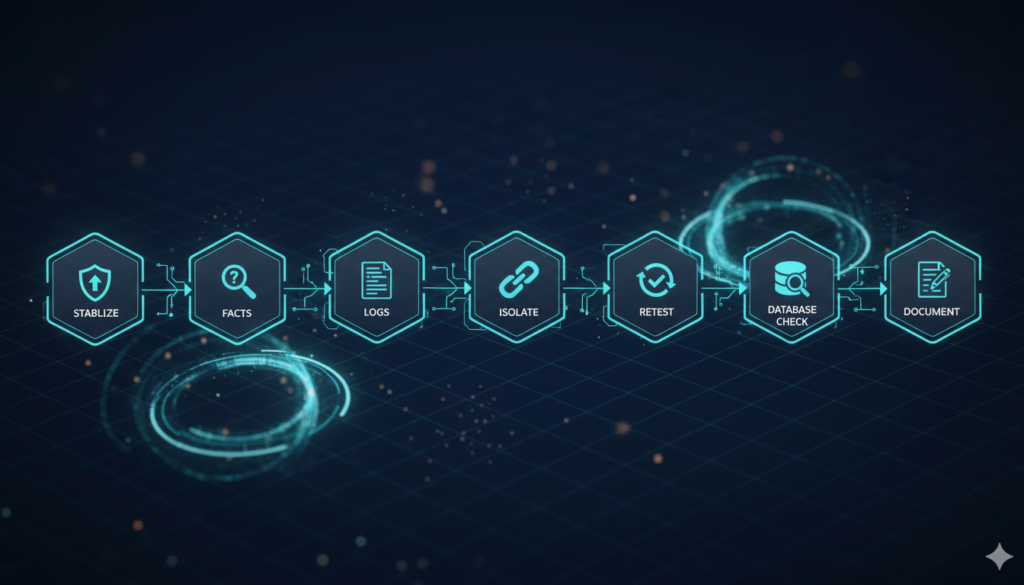
Stabilize → gather facts → check logs → isolate → re-test → document.
A safe, repeatable workflow
1
Stabilize first: Use Recovery Mode or temporarily rename plugin/theme folders via SFTP to regain access. Log the error with
WP_DEBUG_LOG.2
Gather facts, don’t guess: Check Site Health for PHP version, server specs, and critical alerts.
3
Check the logs: Open
debug.log and match timestamps to the incident to identify repeating errors.4
Isolate the variable: Reproduce the issue and change one thing at a time. Re-test after each change.
5
Write it down: Note observations and results. This speeds up future fixes and provides a remediation record.

Test changes in staging and keep production clean and secure.
Good habits that prevent escalations
- ✓Keep debugging off-screen in production and turn logging off when finished.
- ✓Use staging to test updates safely before production.
- ✓Treat Site Health as your pre-checklist to fix flags before big changes.

Next: classify symptoms fast so you choose the right diagnostic path.
What’s in the next lesson?
- Lesson 1.2: teaches you to classify symptoms fast so you pick the right diagnostic path immediately.
- Module 2: applies the method to real fixes (performance, HTTP/DB errors).
- Module 3: turns your notes into a maintenance routine that prevents repeat incidents.
References
-
•WordPress Site Health: where to find Status & Info (Tools → Site Health). WordPress.org ↗
-
•WordPress debugging constants (WP_DEBUG, WP_DEBUG_LOG, WP_DEBUG_DISPLAY) and behavior. Developer Resources ↗
-
•Learn WordPress: built-in debugging options. Learn WordPress ↗
-
•Recovery Mode (fatal error protection). Make WordPress ↗ | Hostinger ↗
-
•Database repair (WP_ALLOW_REPAIR) and the maintenance endpoint. Developer Resources ↗
-
•Site Health persistent object cache suggestion logic. Developer Resources ↗
Exercise Files